
From the Snowy Table kitchen
Cream Wafer Sandwich Cookies
Cream wafer sandwich cookies pair sugar-coated flaky rounds with a smooth vanilla butter filling after a brief refrigerated rest.
- Prep45 min
- Total1 hr 45 min
- Serves60 sandwich cookies
- RatingBe first
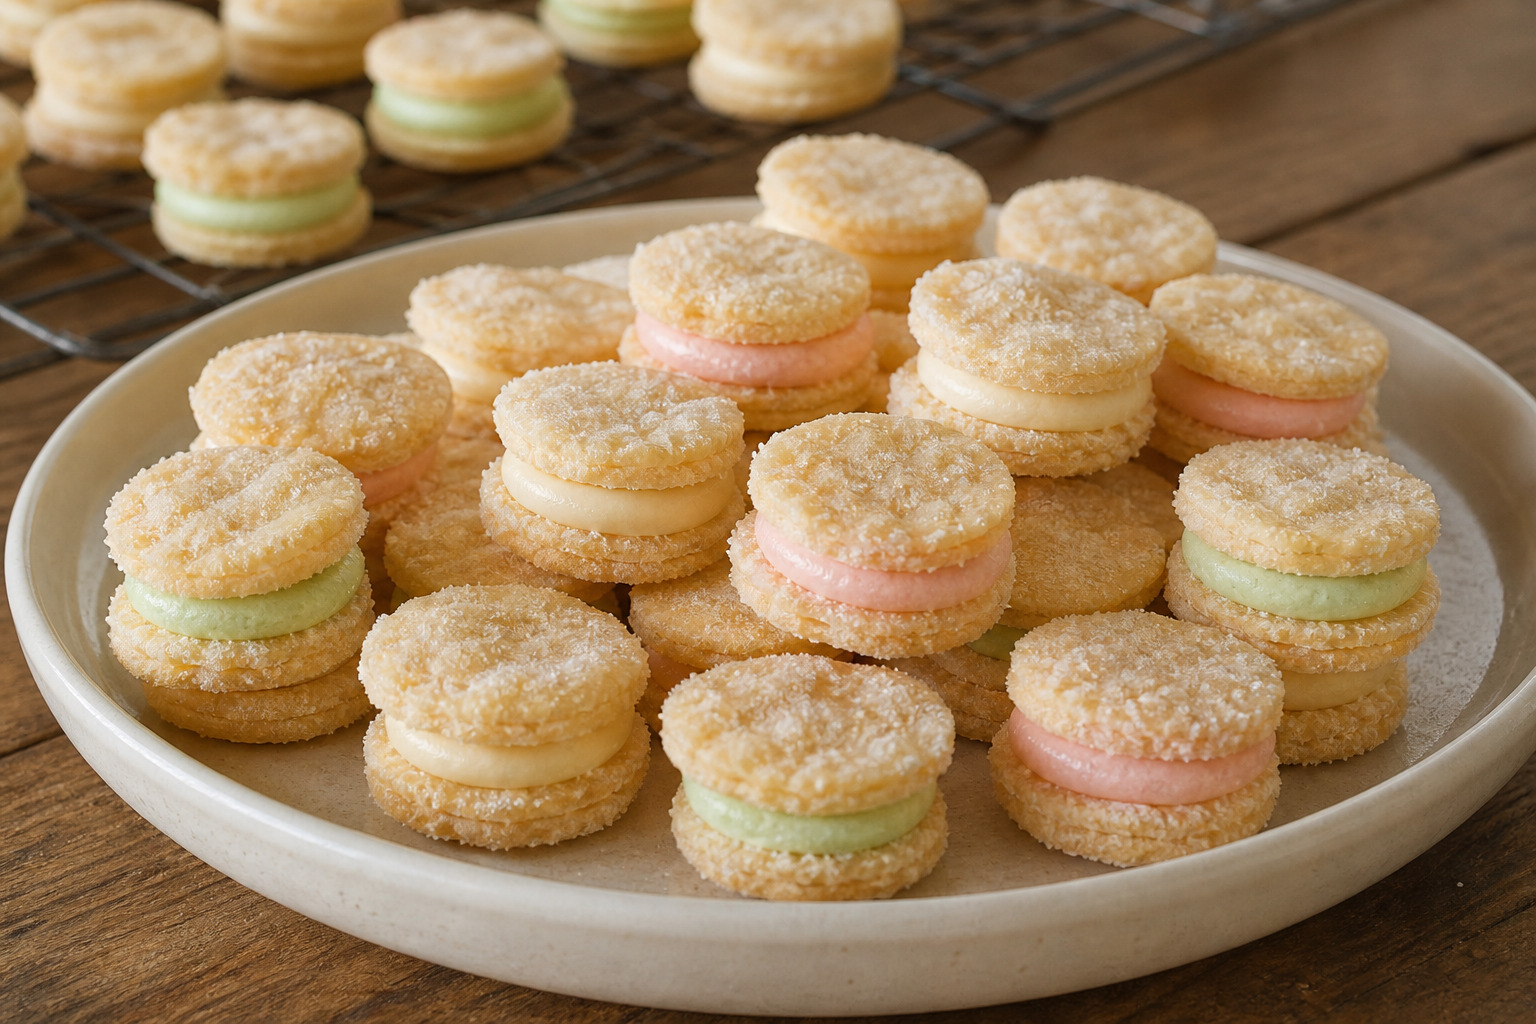
Thin wafers with a smooth flavored center
Chill the dough, roll it thin, and join the cooled pairs
Paid links in this story: As an Amazon Associate I earn from qualifying purchases.
Cream wafer sandwich cookies begin with a chilled three-ingredient dough of all-purpose flour, softened butter for the wafers, and heavy cream. After an hour in the cold, the dough is rolled 1/8 inch thick, cut into small shapes, turned on both sides in white granulated sugar for coating, and pricked before baking. Two fully cooled wafers then hold a small spoonful of creamy filling between their flat sides.
Plan the work around 60 finished sandwich cookies and two patient rests: about one hour to firm the dough and about one hour to cool the baked pieces completely. Work with only one-third of the dough at a time so the remaining portions stay cold while you roll and cut. The wafers bake for seven to nine minutes at 375°F and should look set without taking on brown color, a useful visual cue when the first batch is ready to leave the heat.
Mix the simple dough and chill until firm
Paid links in this section.
Use measuring cups and spoons for the flour, butter, and cream, then place all three in a medium stainless steel mixing bowl. Bring them together with a mixing spoon, scraping through the center and around the sides until no dry pockets remain and the dough looks even.
Fit a bowl cover over the bowl and place it in the kitchen refrigerator for about one hour, or until the dough is firm. Keep it covered for the full rest so the surface stays protected, and leave it cold until the rolling area is ready.
Roll one cold portion at a time and coat both sides
Paid links in this section.
Heat the oven to 375°F. Take out one-third of the dough and keep the rest chilled. With a rolling pin, roll that portion to an even 1/8-inch thickness on a lightly floured pastry board. Check the center and edges before cutting so thick and thin pieces do not share the same short baking window.
Cut the rolled dough into the shapes you want with 1 1/2-inch cookie cutters. Spread a generous layer of the sugar over a large piece of waxed paper. Lift each cutout with a pancake turner, turn it in the sugar to coat both faces, and arrange it on ungreased baking sheets. Prick each piece about four times with a fork, then repeat with the two remaining cold portions.
Bake only until set and cool without rushing
Paid links in this section.
Bake each sheet for seven to nine minutes, watching for wafers that are set but not brown. Begin checking at seven minutes because the thin cutouts move through the range quickly. Use oven mitts to remove the hot sheet as soon as that pale, set appearance is reached.
Move the wafers from the sheet to a wire cooling rack and let them cool completely, about one hour. Match similarly sized pieces while they rest, but wait until every surface has lost its warmth before adding the filling.
Stir the filling smooth and sandwich the flat sides
Paid links in this section.
In the cleaned mixing bowl, combine powdered sugar, softened butter for the filling, and your choice of vanilla extract, lemon extract, or peppermint extract. Stir until smooth. Blend in optional food coloring only if you want it, and add a few drops of water if needed to bring the filling to a smooth spreading consistency. Add the drops gradually so the adjustment stays small.
Turn the cooled pairs flat-side up. With an offset spatula, spread about 1/2 teaspoon of filling over one bottom, then place its partner on top with the sugared face outward. Continue until all the matched pairs are joined.
Pair, fill, and pass the little sandwiches together
Bring family, friends, or neighbors to the table once the wafers are cool and set the matched pairs in easy reach. One person can line up similar shapes, another can spread each measured bit of filling, and someone else can close the sandwiches with the sugar-coated sides facing out. Keep the chosen extract and optional filling color consistent as the cookies move from the filling station to the serving plate. The small shapes make the batch easy to arrange in rows, circles, or a mixed platter without needing extra decoration. Share a few as soon as the assembly is complete, then keep pairing and filling while conversation continues. With 60 finished pieces to work through, there is room for many hands to help and plenty to place at the center when everyone sits down together.
Join the recipe discussion to ask about chilling, rolling the wafers evenly, judging the pale bake, or adjusting the filling. Leave a comment.
The recipe card
Ingredients and method
Check the total time and yield, review the equipment and ingredients, then follow each step in order. Adjust the servings before you begin if needed.
Equipment
Paid links in this list: As an Amazon Associate I earn from qualifying purchases.
- 1 set Measuring Cups and Spoons for the wafer dough, coating, and filling
- 1 Medium Stainless Steel Mixing Bowl for mixing the dough and filling
- 1 Mixing Spoon for combining the wafer dough
- 1 Bowl Cover for covering the dough during refrigeration
- 1 Kitchen Refrigerator for firming the dough for about 1 hour
- 1 Oven for baking at 375°F
- 1 Rolling Pin for rolling each chilled dough portion 1/8 inch thick
- 1 Pastry Board for the lightly floured rolling surface
- 1 set 1 1/2-Inch Cookie Cutters for cutting the thin wafer shapes
- 1 large sheet Waxed Paper for holding the granulated-sugar coating
- 1 Pancake Turner for transferring fragile cutouts to the sugar
- as needed Baking Sheets for baking the coated cutouts ungreased
- 1 Fork for pricking each cutout about four times
- 1 pair Oven Mitts for handling hot baking sheets
- 1 Wire Cooling Rack for cooling the baked wafers completely
- 1 Offset Spatula for spreading the filling between paired wafers
Ingredients
Wafers
Paid links in this list: As an Amazon Associate I earn from qualifying purchases.
- 2 cups all-purpose flour
- 1 cup butter softened; or margarine
- ⅓ cup heavy cream
- white granulated sugar as needed, for coating both sides
Creamy Filling
- ¾ cup powdered sugar
- ¼ cup butter softened; or margarine
- 1 teaspoon vanilla extract or lemon or peppermint extract
- food coloring optional
- water a few drops only if needed
Instructions
Make and Bake the Wafers
- Mix the all-purpose flour, softened butter, and heavy cream with a spoon in a medium stainless steel mixing bowl. Cover and refrigerate about 1 hour, or until firm.
- Preheat the oven to 375°F. Roll one-third of the dough at a time on a lightly floured pastry board to 1/8 inch thick, keeping the remaining dough refrigerated. Cut with 1 1/2-inch cookie cutters. Spread white granulated sugar generously over waxed paper, transfer each cutout with a pancake turner, and turn it to coat both sides.
- Place the coated cutouts on ungreased baking sheets and prick each one about four times with a fork. Bake for 7 to 9 minutes, until set but not browned. Transfer to a wire cooling rack and cool completely, about 1 hour.
Fill the Sandwich Cookies
- Mix the powdered sugar, softened butter, and vanilla extract until smooth. Tint with food coloring if desired. Add only a few drops of water if needed for a smooth, spreadable consistency.
- Match the cooled wafers into pairs. Spread about 1/2 teaspoon filling over the bottom of one wafer, then add its partner with the sugared surface facing outward. Repeat to make 60 sandwich cookies.
Notes
Nutrition estimate
Ingredients, one step closer
Shop this recipe
Choose a supported retailer to transfer the ingredient list, then review every item, quantity, substitution, price, and fulfillment option before checkout.
Paid retailer links may earn Snowy Table a commission at no added cost to you.
Shop with Instacart
Send this recipe’s ingredients to participating local stores for delivery or pickup where available.

Shop with Walmart
Build a Walmart cart from the ingredient list and confirm the exact products that fit your recipe.
Keep cooking
More recipes for your table

Recipe
Holly Ginger Drop Cookies
Holly ginger drop cookies pair molasses-spice cookies with powdered sugar icing, red cinnamon candies, and green frosting leaves.
Cook this recipe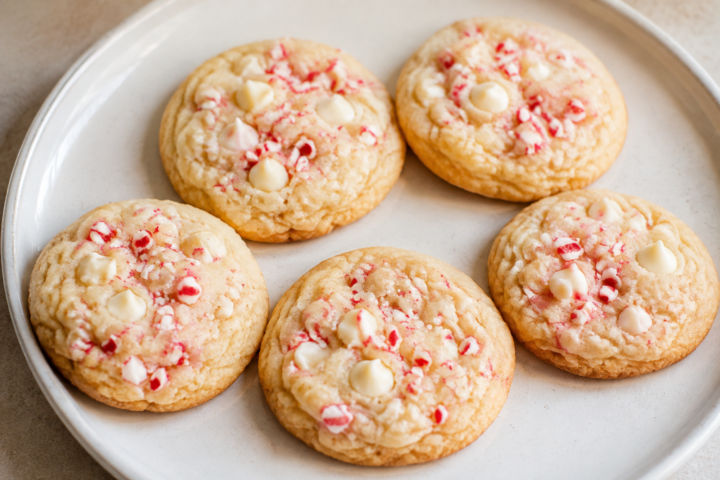
Recipe
White Chocolate Peppermint Cookies
White chocolate peppermint cookies combine white chocolate chips and crushed candy canes in a tender holiday cookie.
Cook this recipe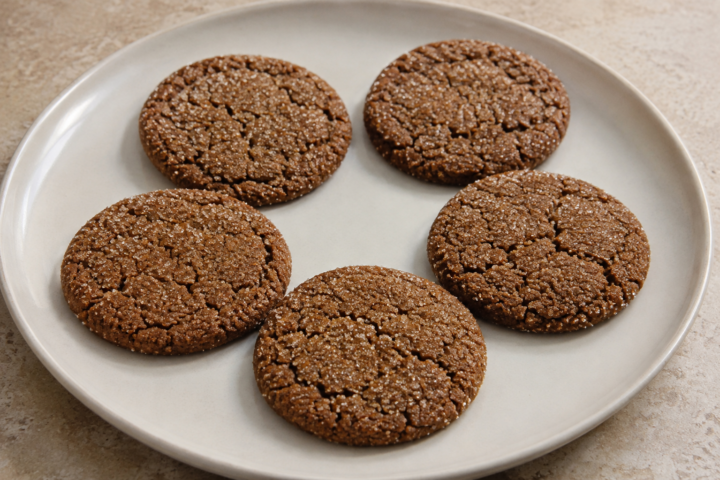
Recipe
Dark Molasses Ginger Cookies
Dark molasses ginger cookies combine fresh and ground ginger with cinnamon and cloves, then roll in sugar before a 10-to-12-minute bake.
Cook this recipe


